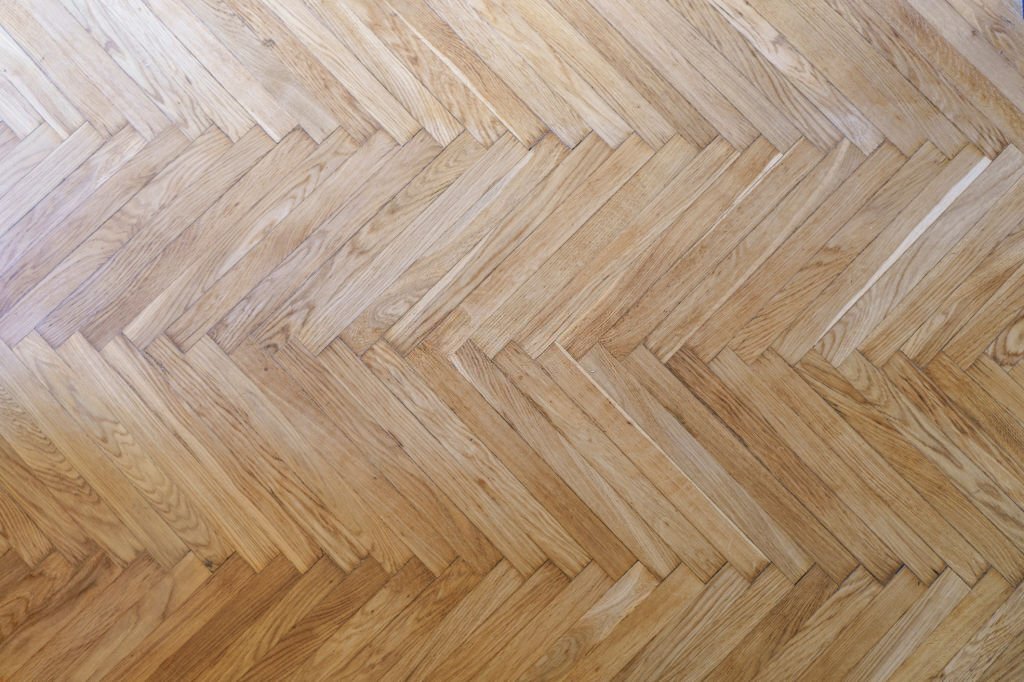
Are you looking to transform your living space with a touch of timeless elegance and sophistication? Installing Chevron wood flooring could be the answer you’ve been searching for. In this comprehensive guide, we will walk you through the step-by-step process of installing Chevron wood flooring, ensuring that your home exudes charm and style.
Choosing the Right Chevron Wood Flooring
Before diving into the installation process, it’s crucial to select the right Chevron wood flooring for your space. This decision can greatly impact the overall aesthetics of your room. Here are some key factors to consider:
1. Wood Type
The first step is choosing the type of wood for your Chevron flooring. Common choices include oak, walnut, and maple. Each wood type has its unique characteristics, such as grain patterns and color variations. Consider the existing decor of your space to determine the best fit.
2. Plank Size
Chevron wood flooring comes in various plank sizes. The width and length of the planks can influence the perception of space. Larger planks tend to make a room look more open and spacious, while smaller planks can create a cozier atmosphere.
3. Finish
Selecting the right finish is essential for both aesthetics and durability. You can opt for a matte, satin, or glossy finish, depending on your preferences. Matte finishes are known for their natural look and are excellent at concealing scratches.
Tools and Materials You’ll Need
Before you start installing Chevron wood flooring, gather the necessary tools and materials. Having everything on hand will streamline the process and prevent unnecessary delays. Here’s a list of what you’ll need:
- Chevron Wood Flooring Planks
- Underlayment
- Tape Measure
- Chalk Line
- Circular Saw
- Safety Gear (Goggles and Ear Protection)
- Brad Nailer
- Hammer and Nails
- Adhesive
- Spacers
- Tapping Block
- Finishing Nailer
- Wood Filler
- Sanding Equipment
- Stain and Finish of Your Choice
- Paintbrush and Roller
Step-by-Step Installation Guide
Now, let’s get into the nitty-gritty of installing Chevron wood flooring. Follow these steps carefully for a flawless installation:
1. Prepare the Subfloor
Ensure that your subfloor is clean, dry, and level. Lay down the underlayment, securing it with staples or adhesive. This will provide a smooth surface for your Chevron wood flooring.
2. Find the Center of the Room
To create a stunning Chevron pattern, you’ll need to find the center of the room. Use a chalk line to mark a straight line across the room’s width and length. This will be your starting point.
3. Start Installing
Begin installing the Chevron wood planks along the marked line. Apply adhesive to the back of each plank and use a brad nailer to secure them in place. Be sure to follow the manufacturer’s instructions for the adhesive.
4. Use Spacers
Place spacers between the planks to maintain uniform gaps. These gaps are essential for accommodating the natural expansion and contraction of wood.
5. Cutting and Fitting
As you reach the edges of the room, you may need to cut planks to fit. Use a circular saw to make precise cuts, ensuring a snug fit against walls and corners.
6. Tapping Block
A tapping block can be incredibly helpful when fitting the planks together. Use it to gently tap the planks into place, ensuring they are snug and secure.
7. Finish the Installation
Continue installing planks in a Chevron pattern until the entire room is covered. Once complete, remove the spacers and install the final row of planks. Ensure a tight fit against the wall.
8. Sand and Finish
After installation, sand the surface to remove any imperfections. Then, apply your chosen stain and finish to protect the wood and enhance its appearance. Allow ample drying time before moving furniture back into the room.
Conclusion
Congratulations! You’ve successfully installed Chevron wood flooring, adding a touch of sophistication and style to your space. With www.parquetflooringdubai.ae wood choice and meticulous installation, your Chevron floor will not only look stunning but also stand the test of time.

